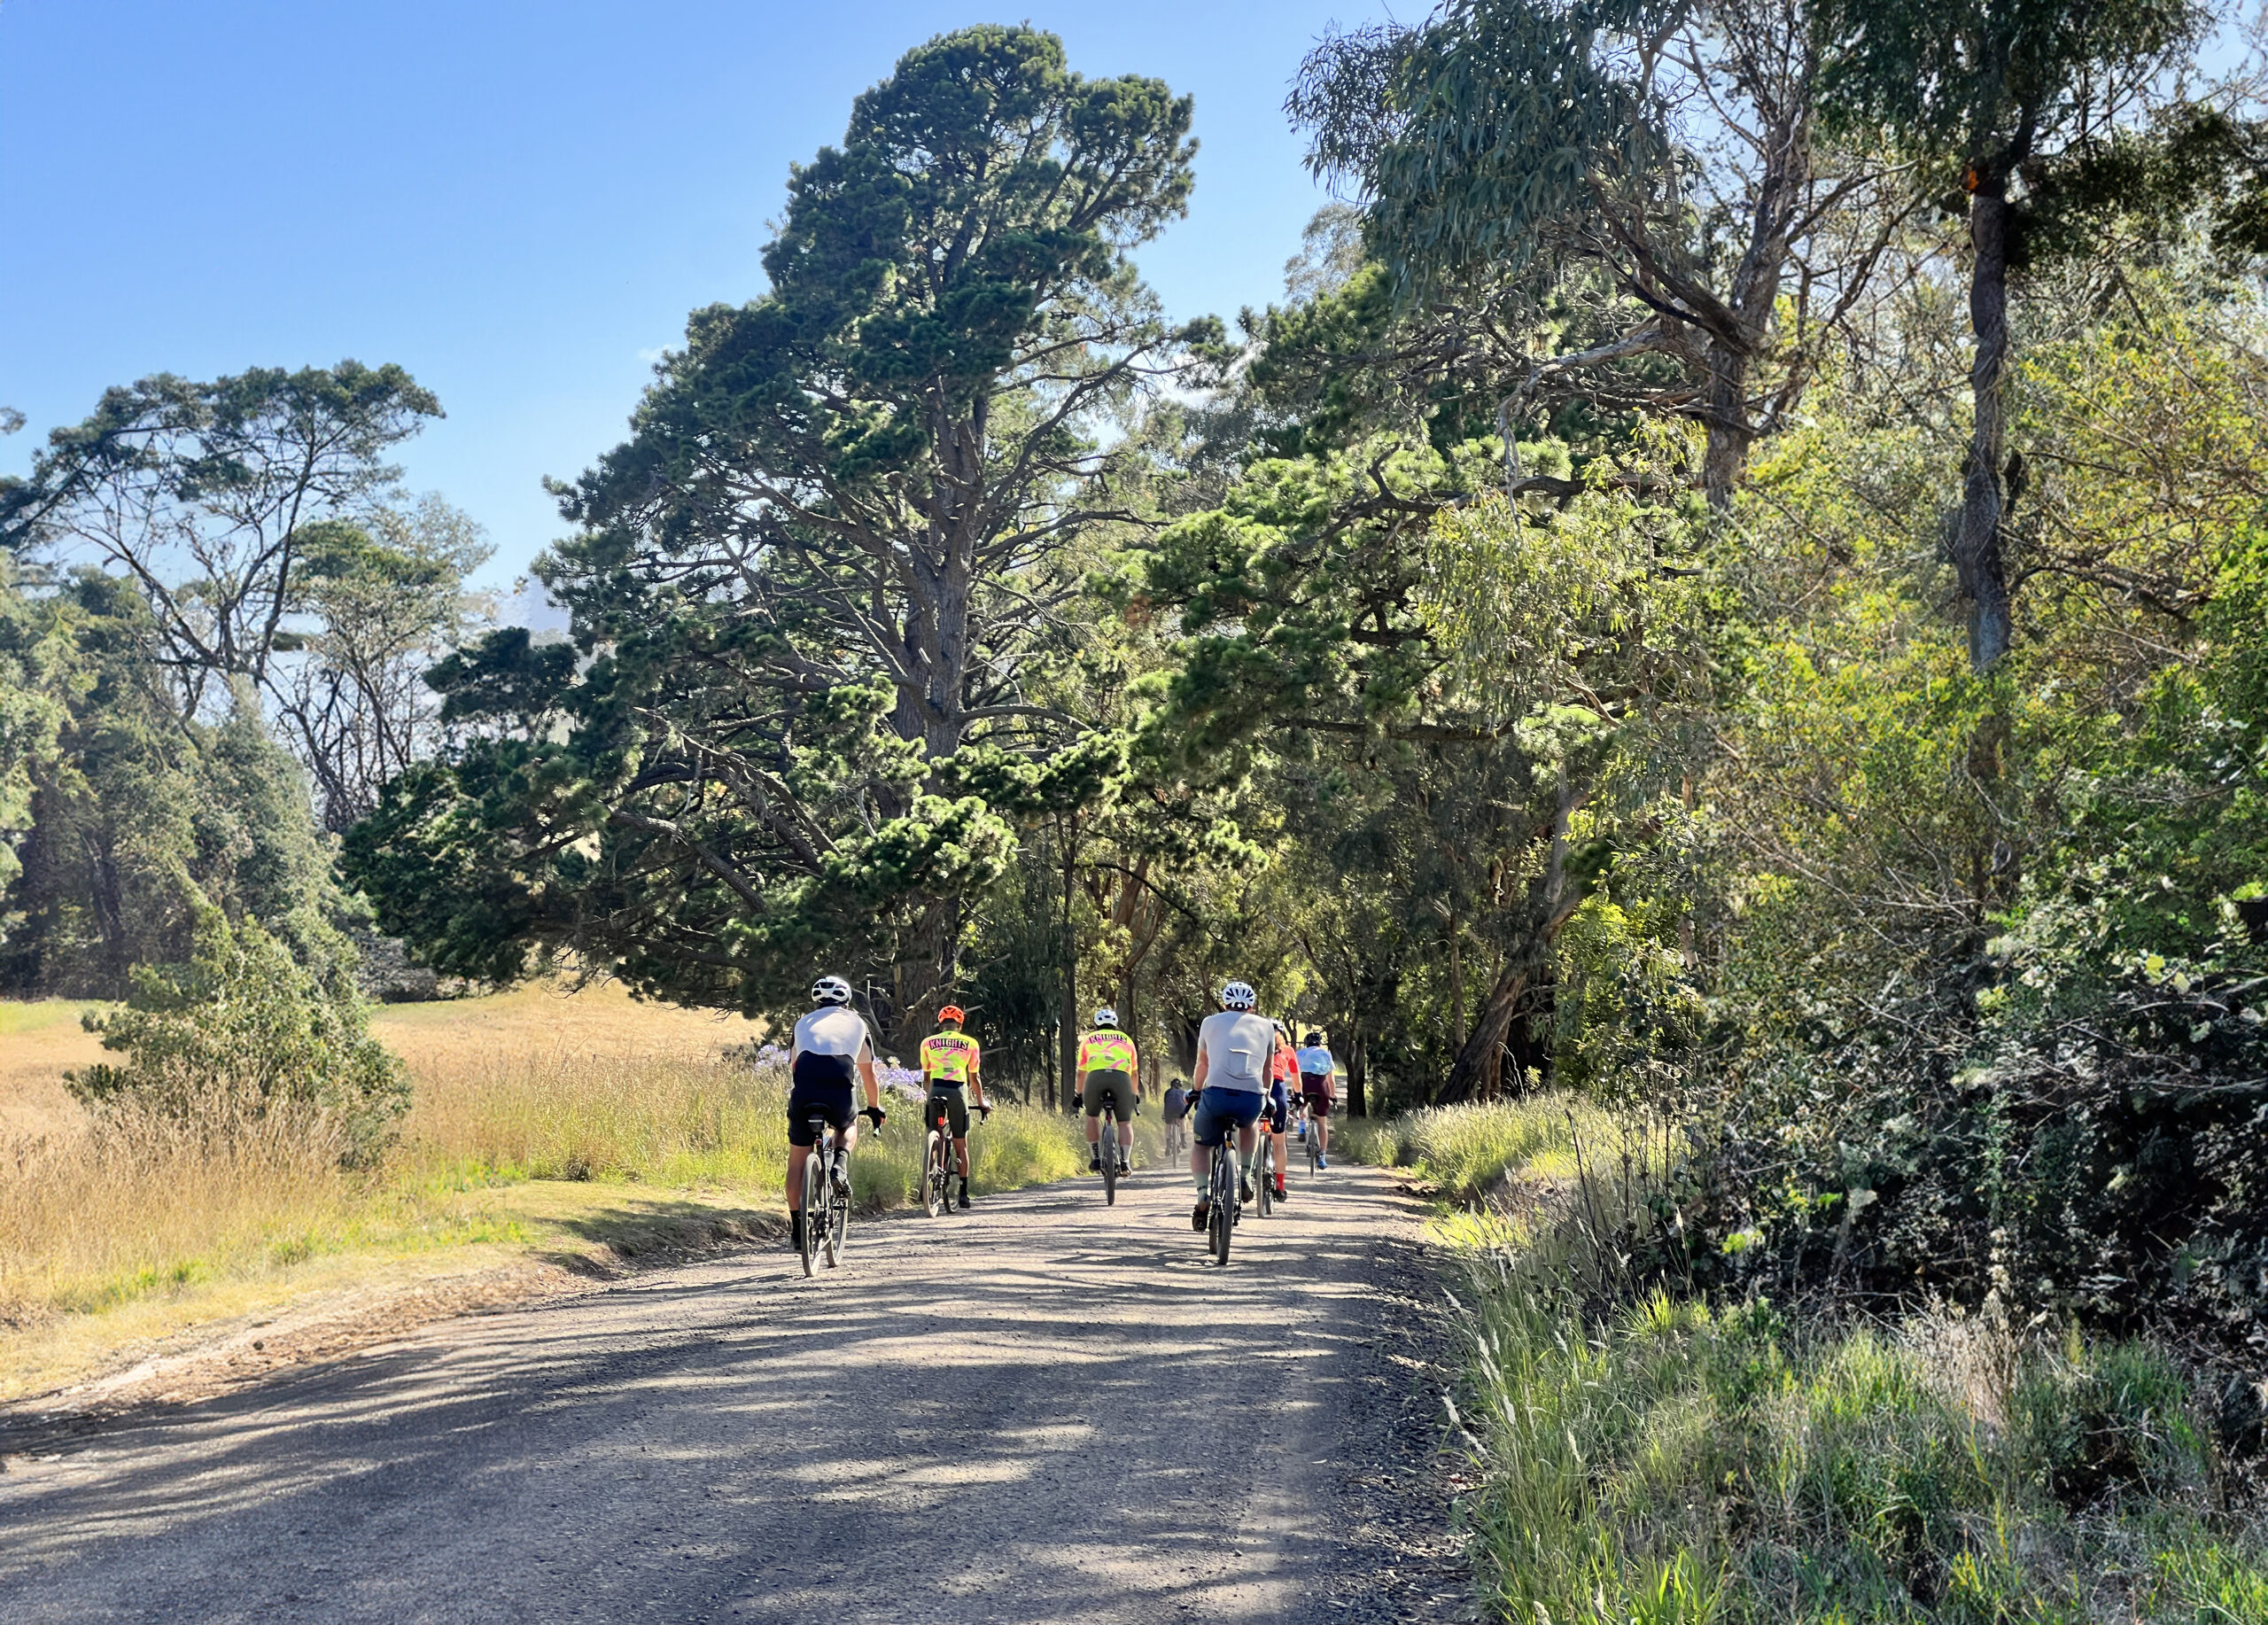
Let’s go bikepacking! Or flashpacking! Or a combination of both!
Regardless of your plans, this is not a definitive guide and you should certainly draw up your own common sense, but it should be a very good start to get your creative juices flowing.
I’m not going to talk too much about bike or tyre choice. The old cliche is the best bike to use is the one that you’ve got which is true to an extent but I wouldn’t want to descend a diamond mountain bike run on a road bike.
In my experience, which isn’t intensely extensive:
- wider gearing works better over long distances and on gravel;
- the less confident you are riding on gravel, the wider you might like your tyre to be;
- bike material (ie. carbon or titanium) and type (ie. mountain or gravel) is entirely user preference
Bike Bags
I’ve used a backpack in the past for some rather long adventures and to be fair, it did do the trick although I wouldn’t recommend. It’s certainly not as comfortable as having a free back for the wind to push on should you be lucky enough for it to not be on your face.
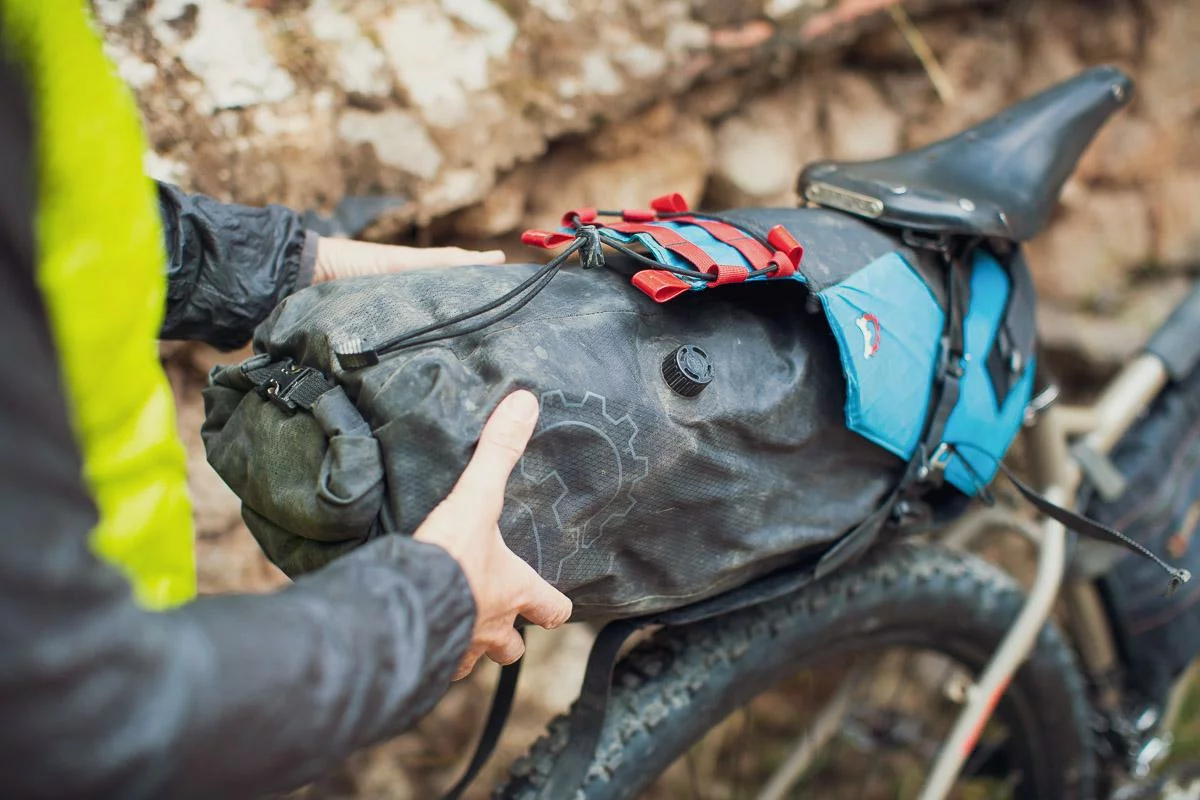
Bike bags are certainly a trial and error type situation. Personally, a large saddlebag is my favourite item as it can hold a large volume and it puts weight where you want it (on the back of your bike). *Mine is a 16L Revelate saddlebag with spine lock so it doesn’t sway when climbing or pedalling aggressively.
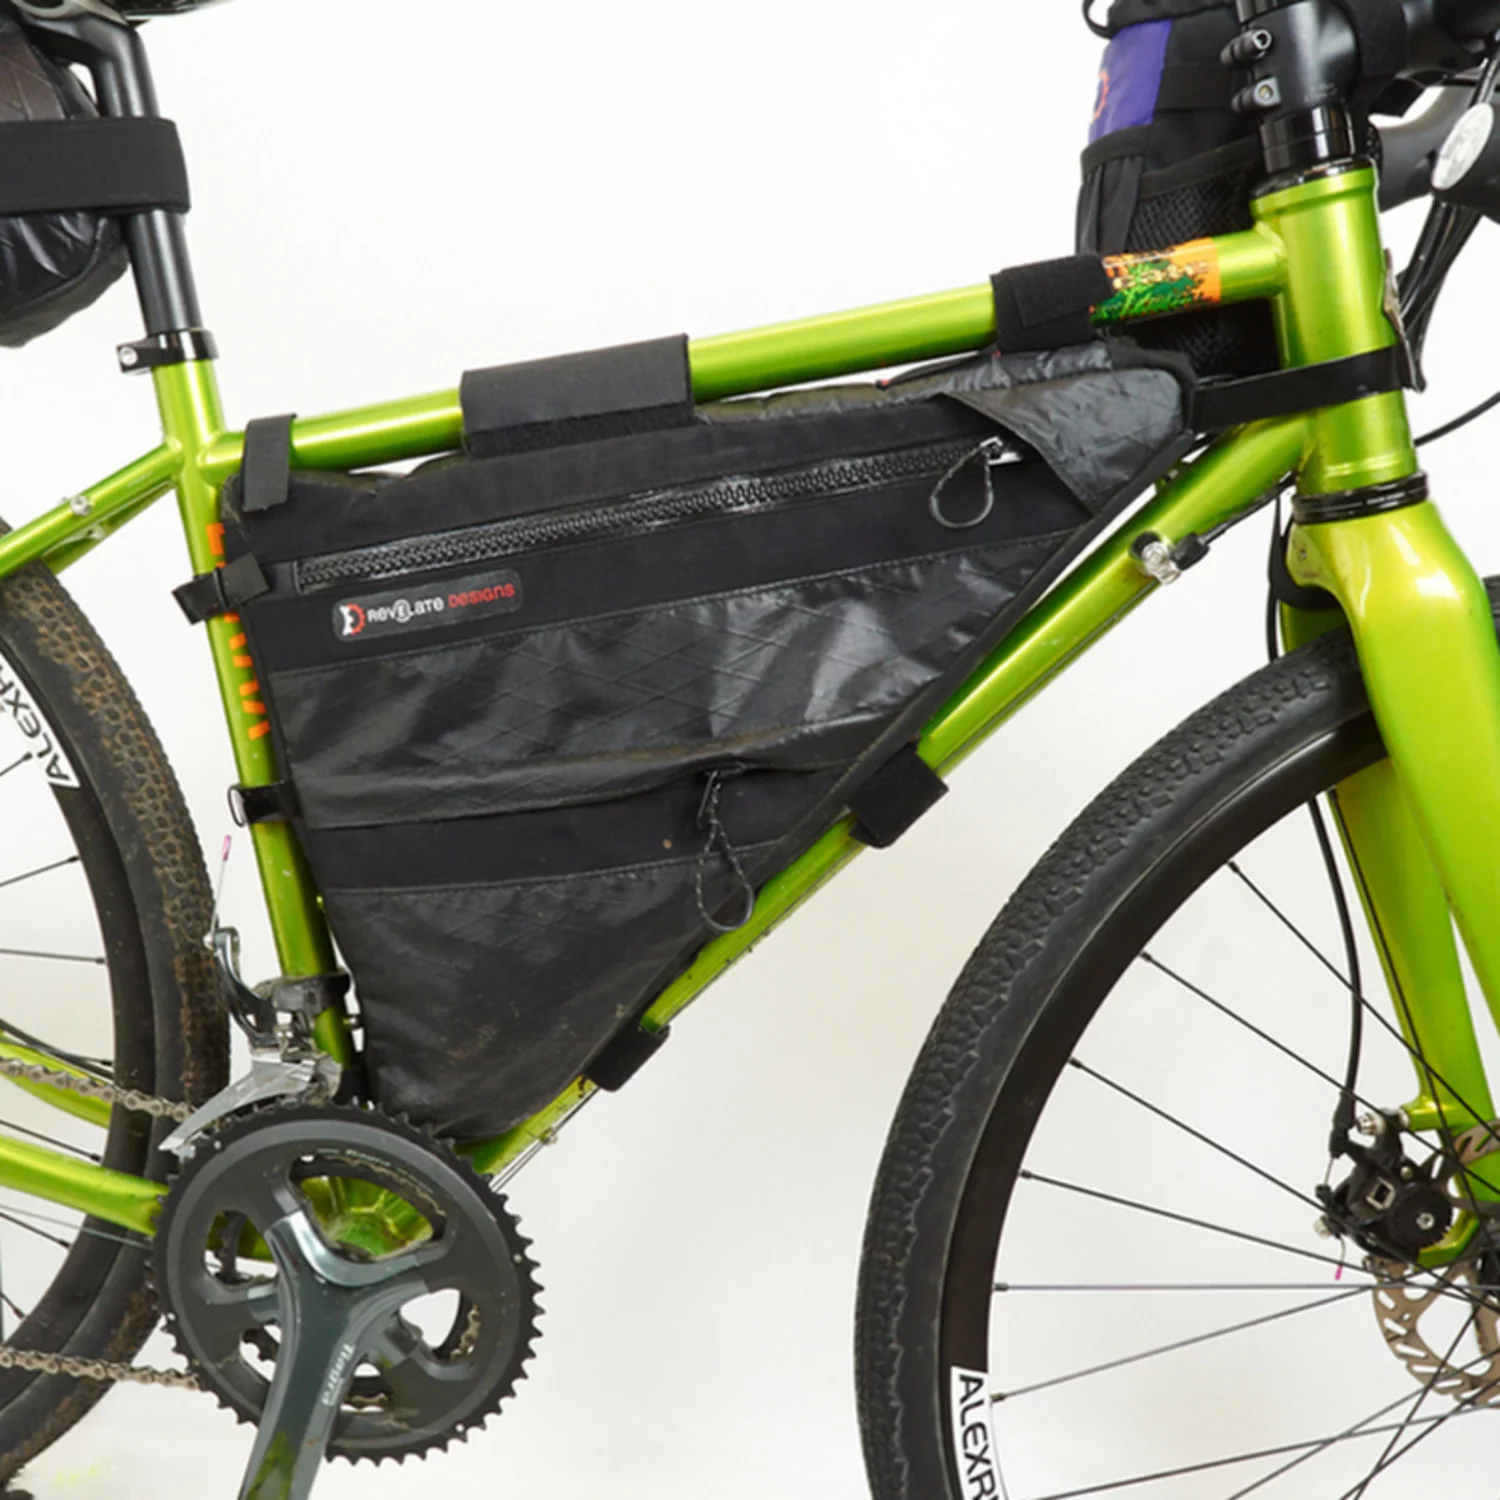
A frame bag is a handy addition too, allowing you to compartmentalise your belongings so that they are a bit easier to access than having to pull apart your saddle bag. *It’s important that you measure this one accurately so that it fits within your frame perfectly, else it may rub on your knees whilst riding. When I run this option, I mount my drink bottles to my forks.
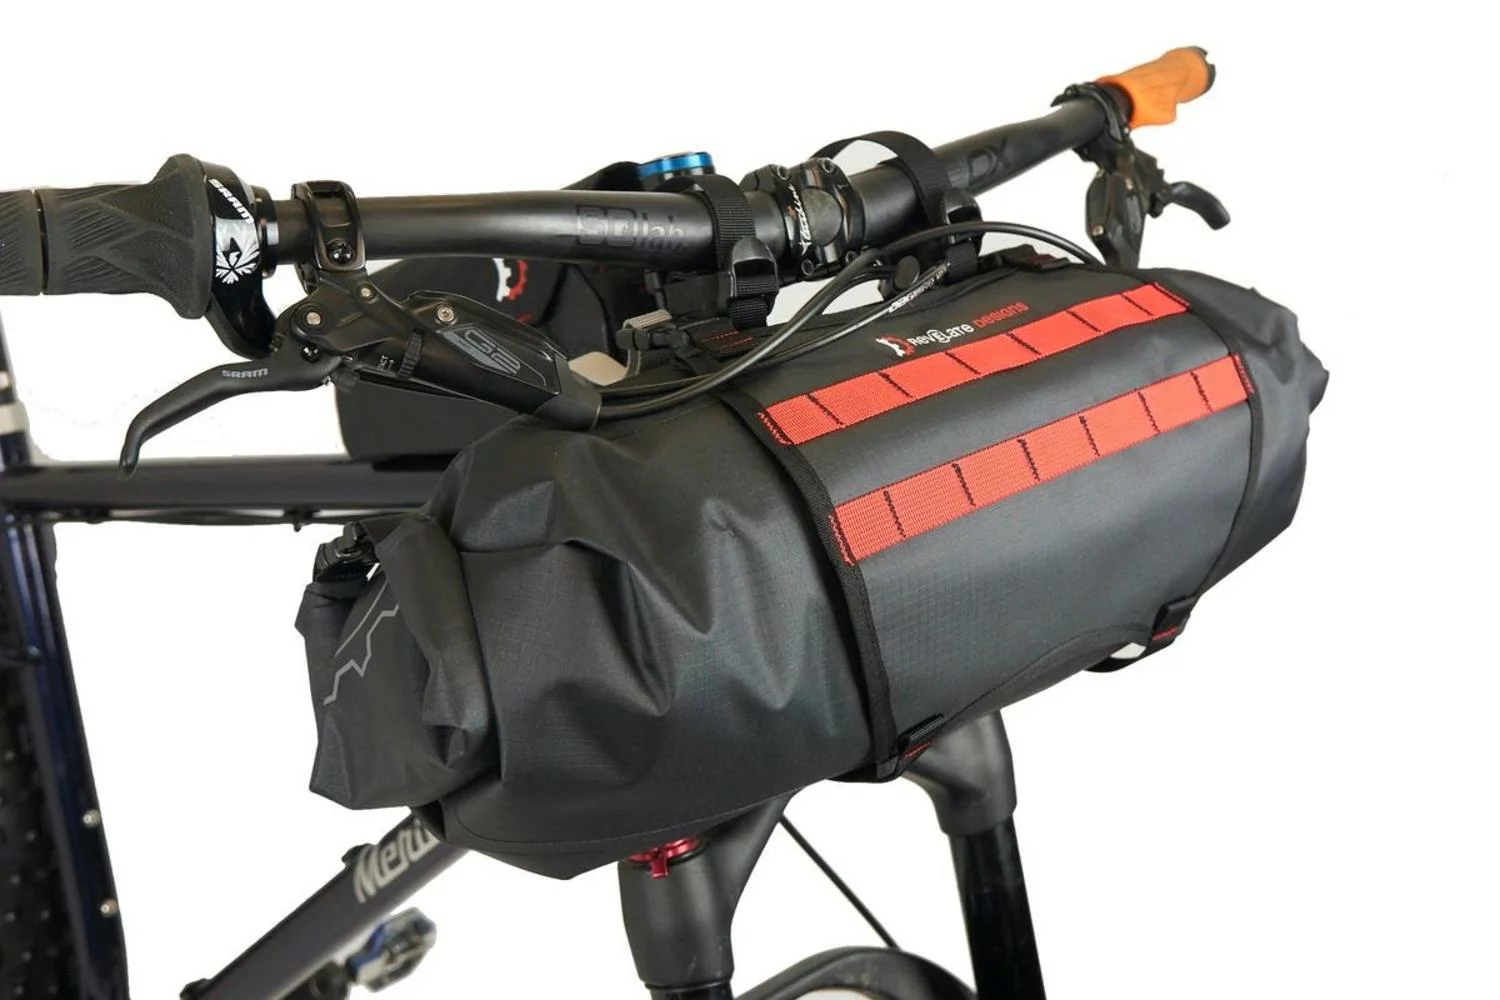
For flashpacking, I’d generally avoid a frontroll as it can be a little cumbersome on the front of your bike, unless I’m bikepacking and need space to carry a tent, sleeping bag and foam mattress. *I use the Revelate sweetroll.
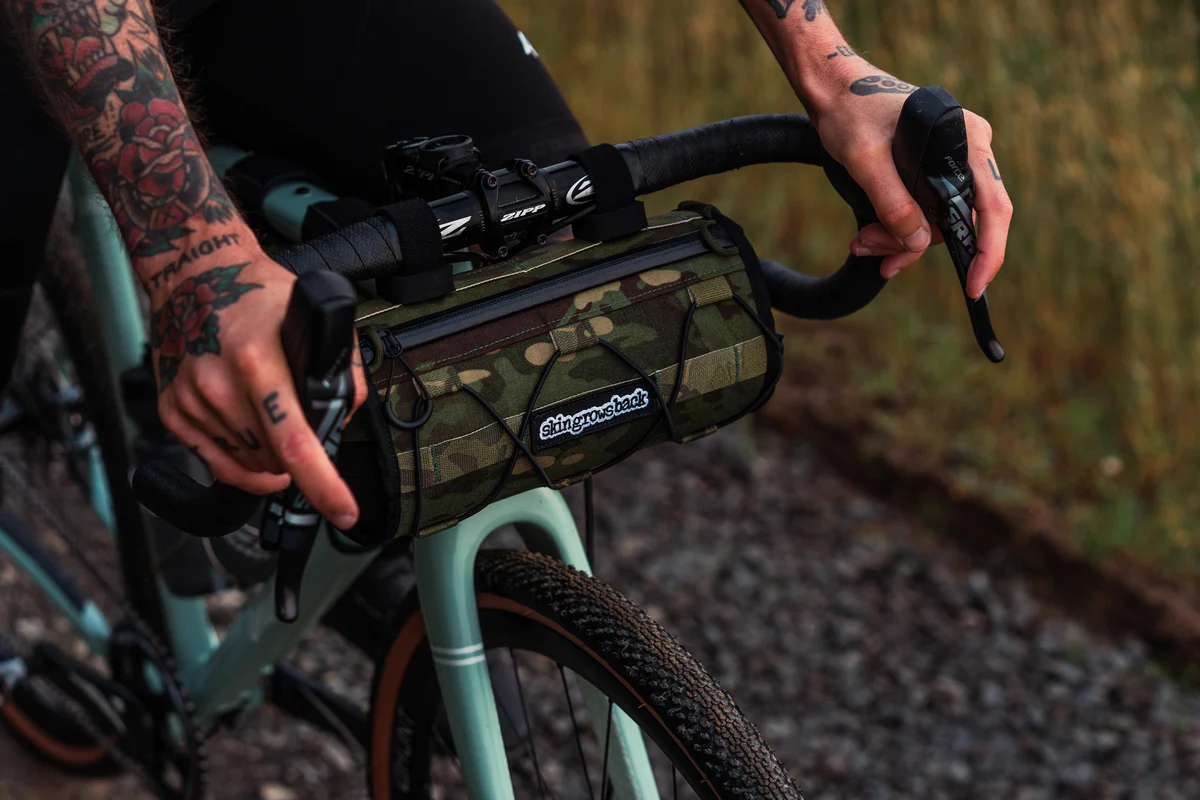
A handlebar bag however, is probably a more favourable option for most people as opposed to a frame bag as it provides access to items such as snacks, without having to get off your bike. *Hannah uses the Skin Grows Back lunchbox.
Personally (and I’m not sponsored to say this), I have tried two different brands of bike bags and my favourite by a country mile are from Revelate Designs. They are extremely resilient and they don’t move, swell or sway on the bike.
A great place to browse, shop and measure up for your Revelate bags or Skin Grows Back is Commuter Cycles in Brunswick, VIC.
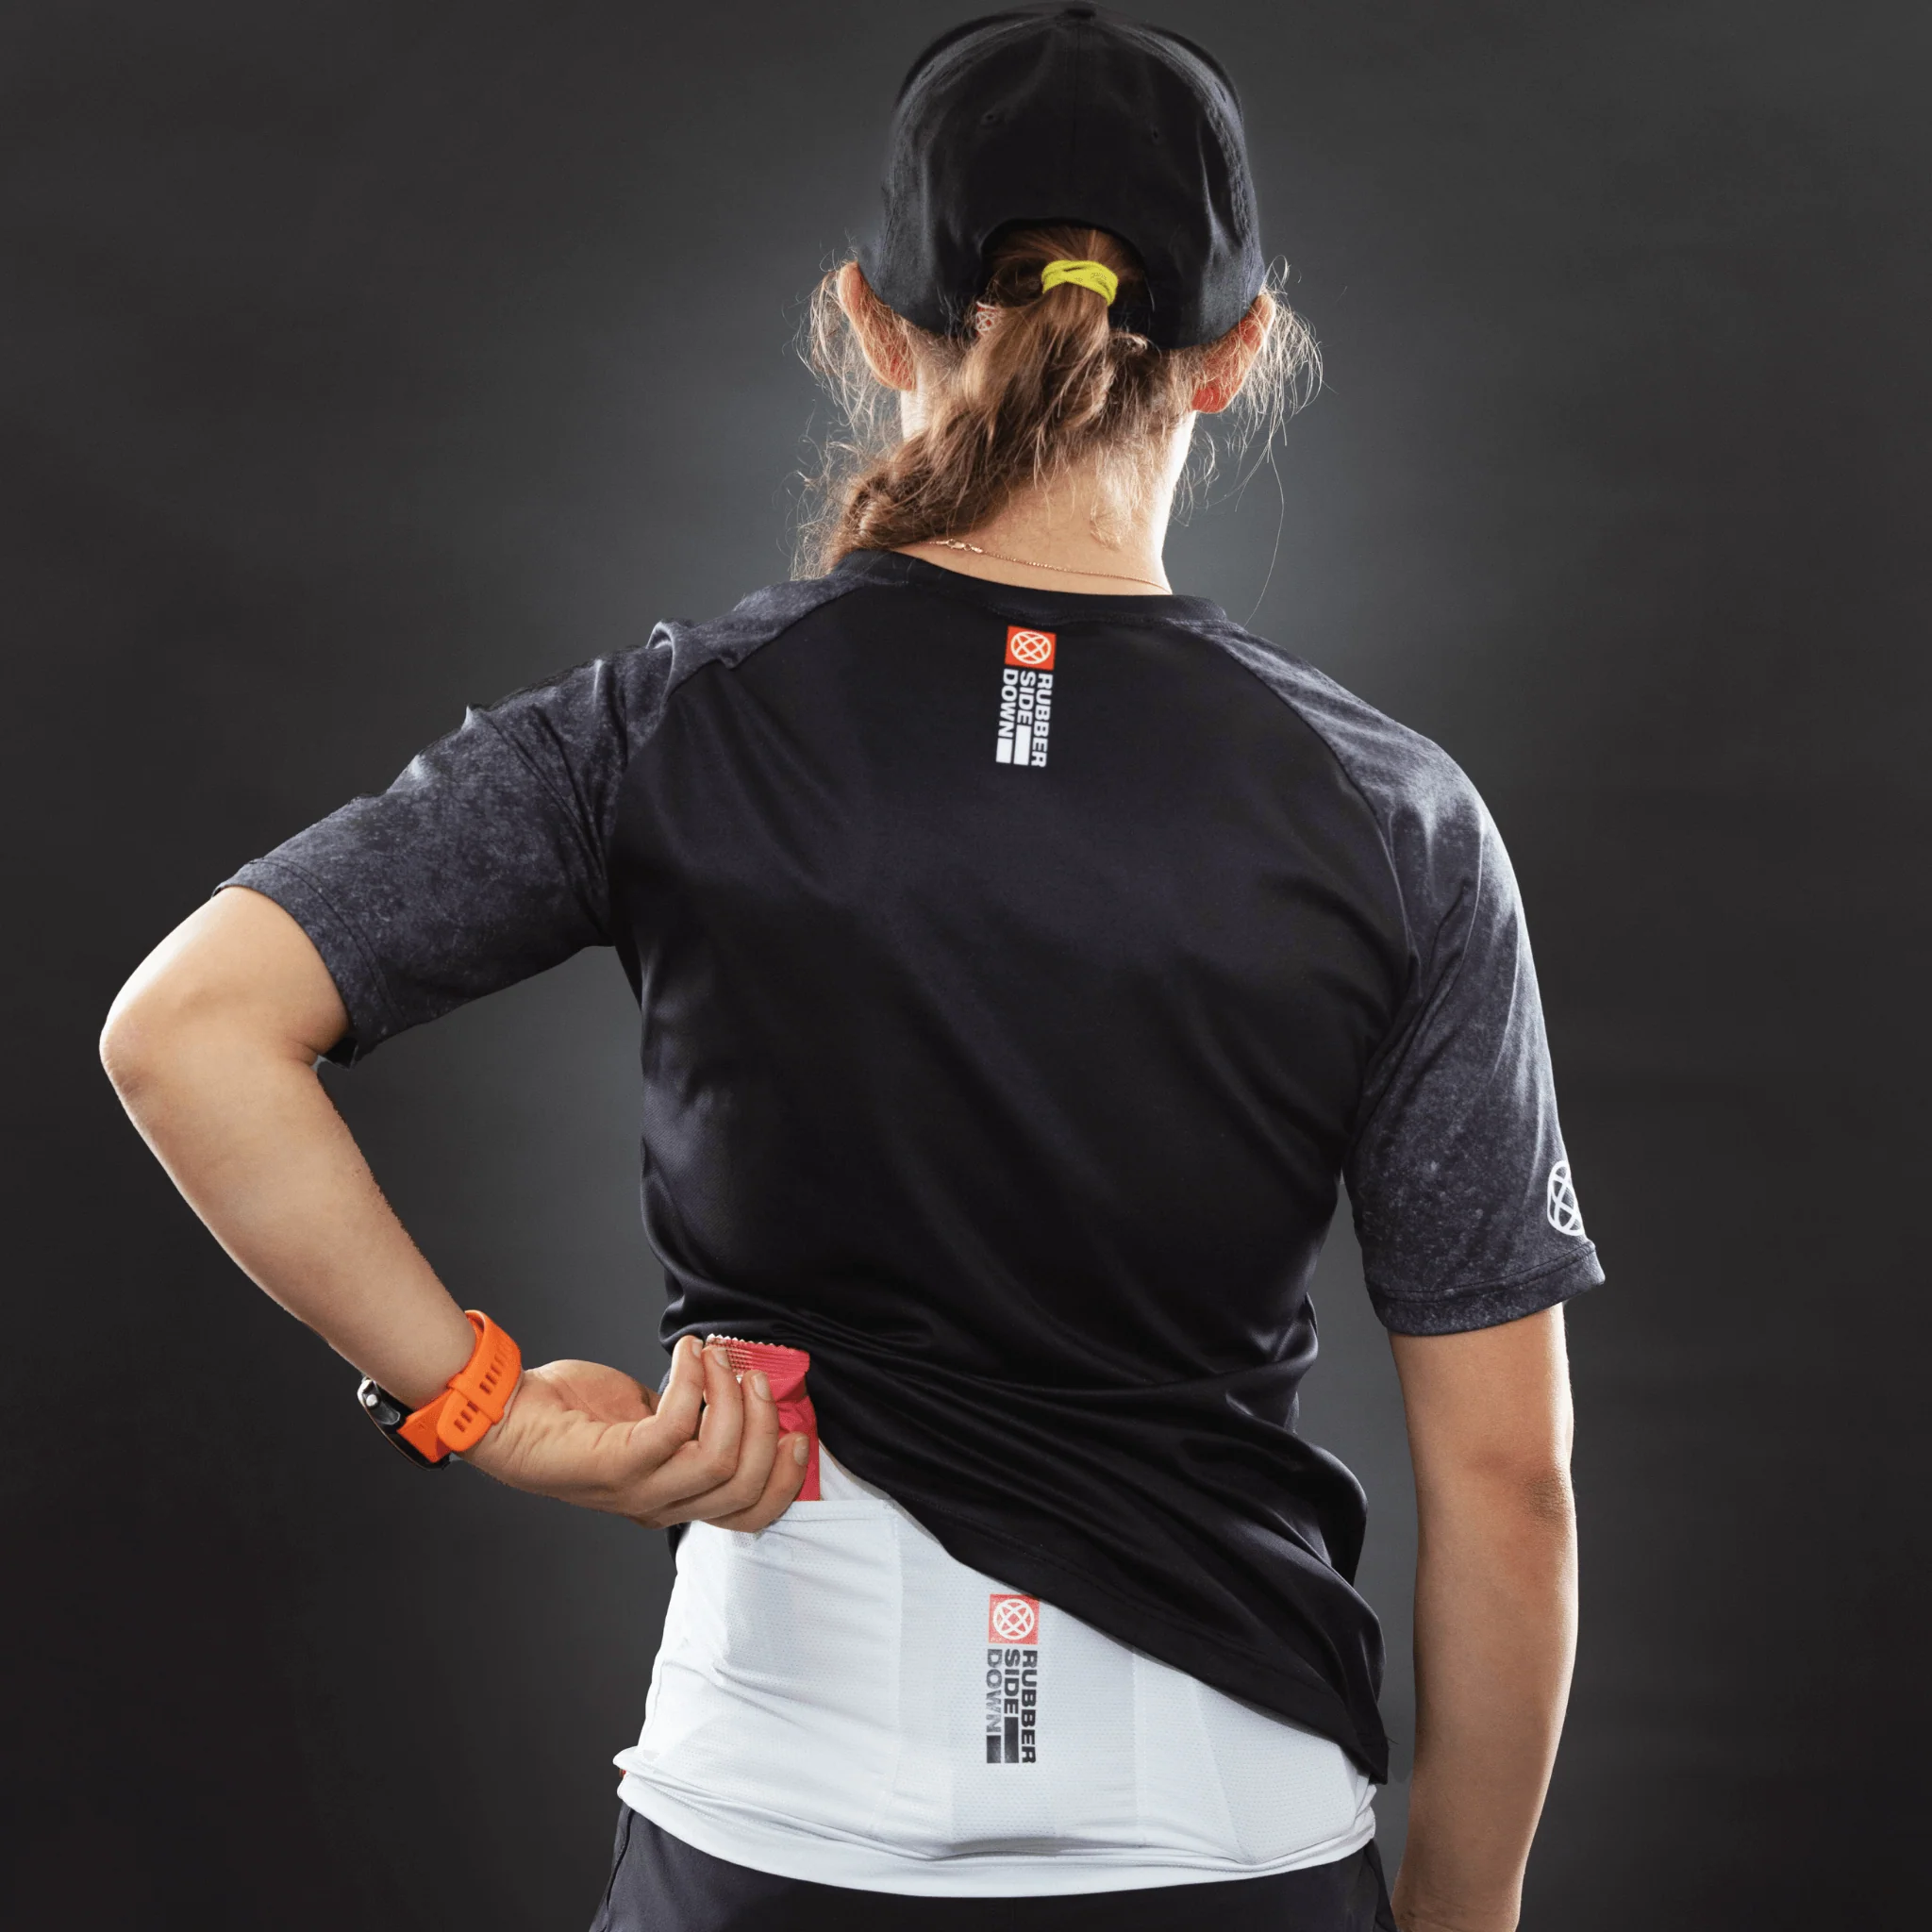
Clothing
Certainly one of the toughest decisions you will make when you are embarking on a flashpacking or bikepacking adventure as you are trying to hit the sweetspot between what you will you need to wear (generally to keep warm) and the weight you want to carry (or the room you have in your bags). Another thing to bear in mind would be whether you would like some “human” clothes for the occasions where you are in towns and might like to go to a restaurant for example without looking somewhat homeless.
So firstly, obviously – check the weather. It goes without saying and its a bit trickier if you plan to be out there for a week or more but generally I’d be preparing for a situation a little bit worse than what the predicted minimum temperature forecast is. The reason I say this is because factors such as wind chill, altitude and also the fact that you are moving across different temperature zones will make a huge difference to the “feels like” actual temperature.
Secondly, what you pack will also depend on your tolerance for being gross. Luckily for me but perhaps not for others, my tolerance for being gross is quite high, so you’ll generally only find me packing one pair of bib shorts over let’s say, approximately a 5 day trip. Any longer than that and you might find your bib shorts starting to grow things. You might choose to wash or you might choose to bring with you a second pair of bib shorts. Repeat your tolerance scale for things like underwear and jerseys.
Thirdly, it does matter if you are planning to camp. You will want to take a full set of clothes with you that always remains dry just for time off the bike.
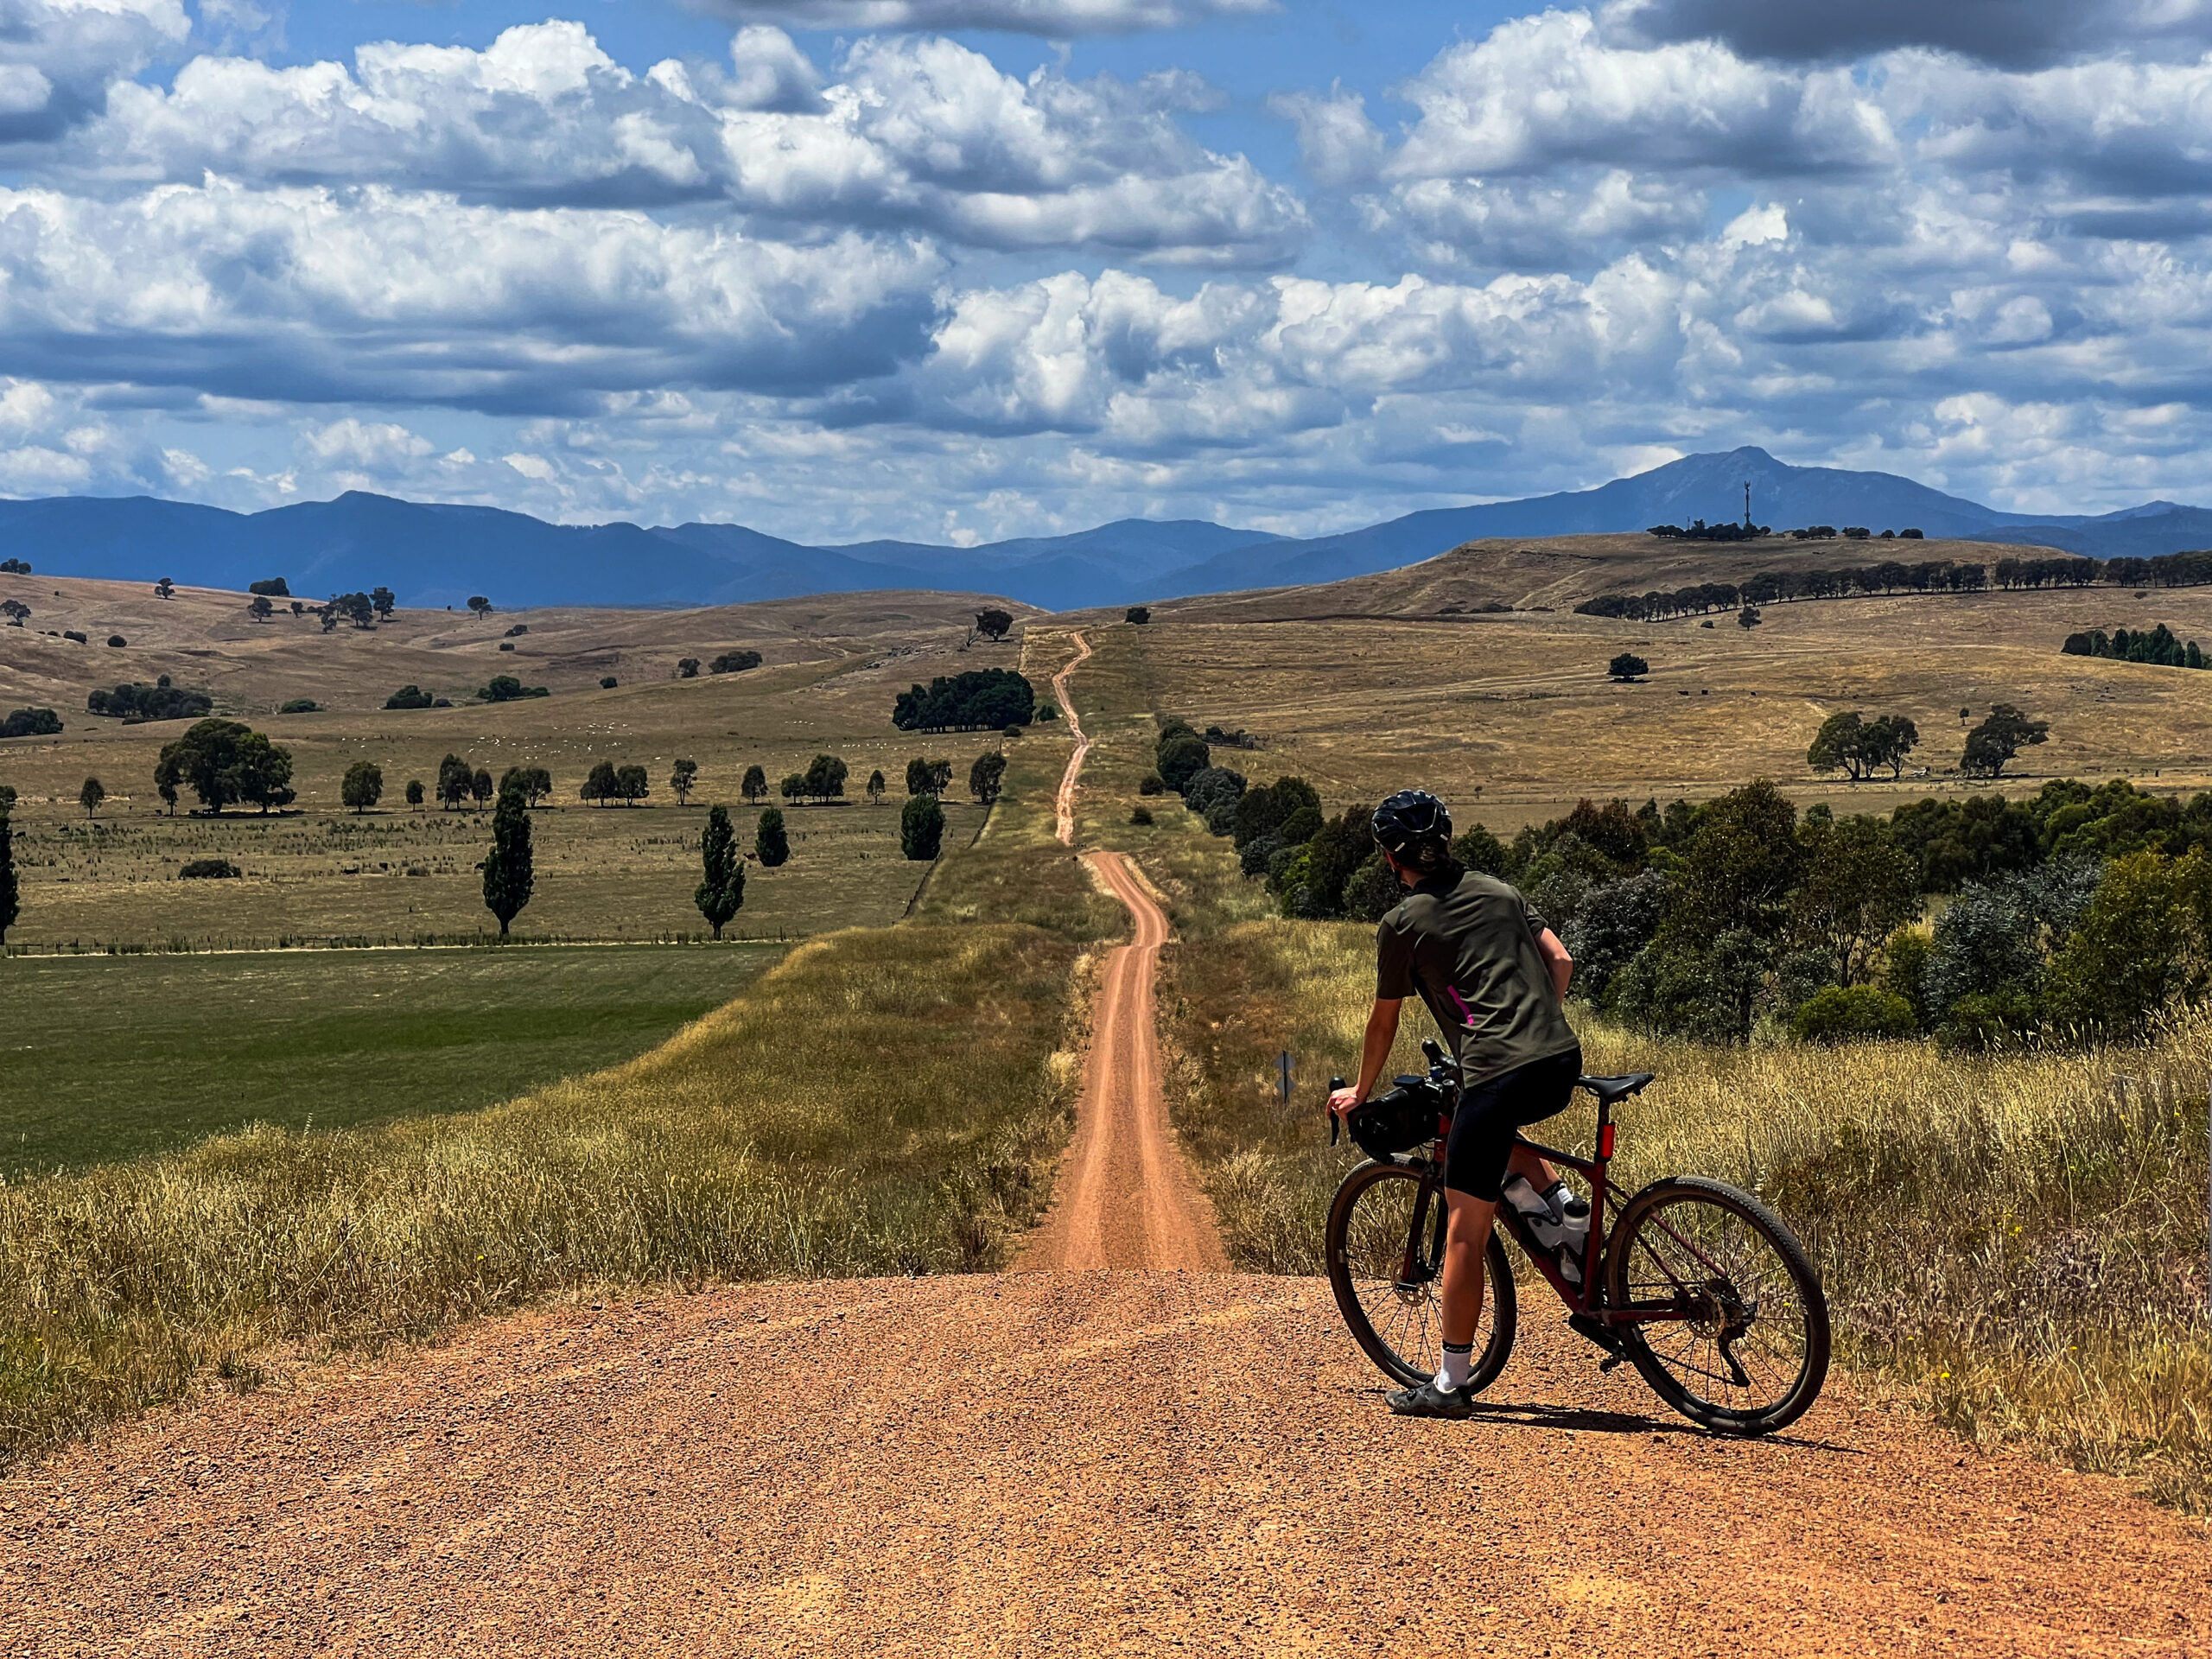
The best example I can give you of what to bring bikepacking (or flashpacking) is a gear list of a ride that covered both extremes in a 5 day period. The warm shores of Sydney to the cool peaks of Mt Kosciuszko. (It did get to the point of snow).
So if you are planning a shorter trip and you know it’s going to be very warm, you may be able to leave out some of these items.
If you know that there are going to be times of cold or inclement weather, it’s good to bring most or all of these items. The idea is to layer them so that you are still travelling light
The ride to Mt Koszi was very hot until the last 20km or so when it became incredibly cold up the mountain as a storm blew in. I took shelter in a roadside hut and layered basically everything I brought minus my dry clothes which got me through.
Time on the bike:
- 1x Pair comfortable Bib Shorts. *I like cargo bibs for the extra pockets;
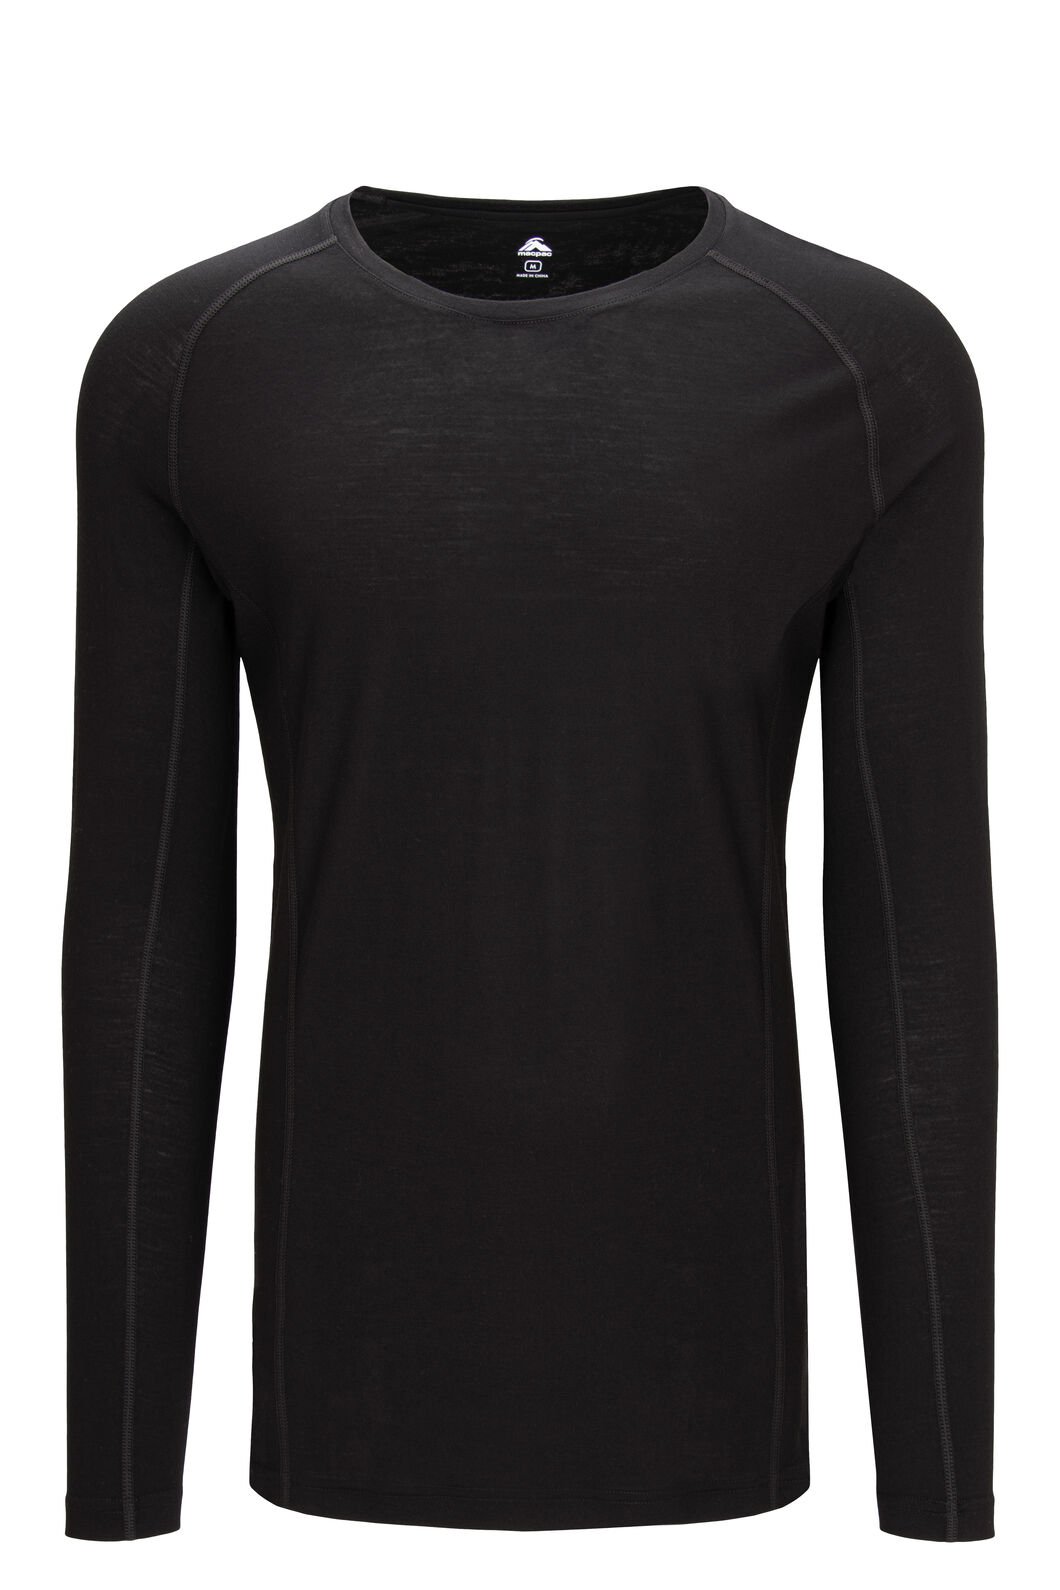
- 1x Long sleeve “thick” Merino wool base layer
- 1x Short sleeve Merino wool base layer
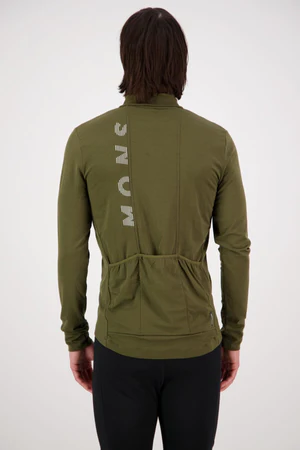
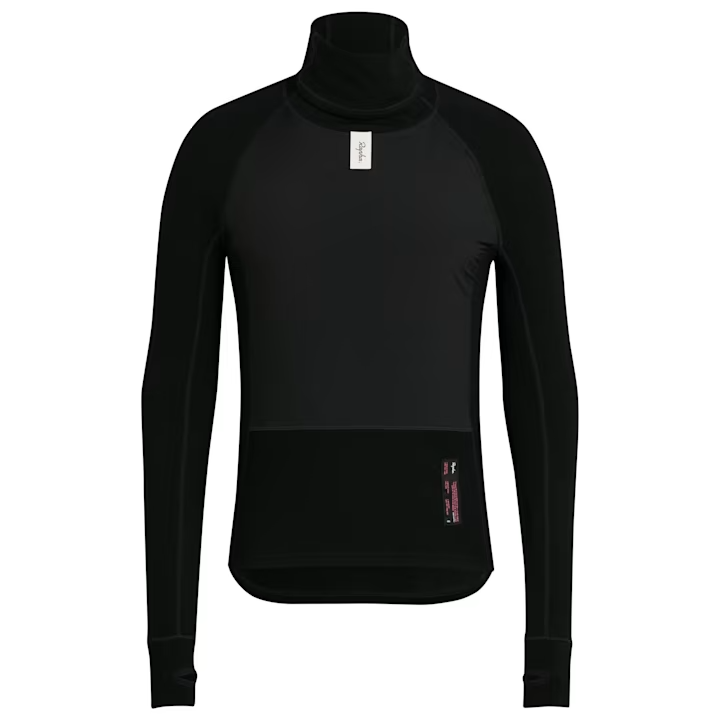
- 1x Long sleeve wind block Merino jersey
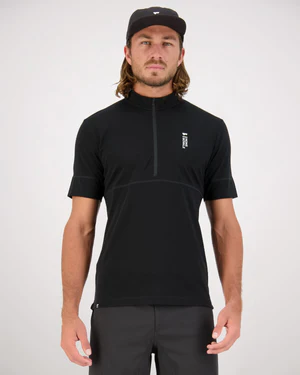
- 1x Short sleeve jersey *Can be Merino or just a t-shirt (I like gravel t-shirts)
- 3x Pair of socks *feet often get wet, you’ll need many sock
- 1x Merino Beanie *lifesaver
- 1x Short finger gloves, 1x long finger gloves, 1x Merino under gloves
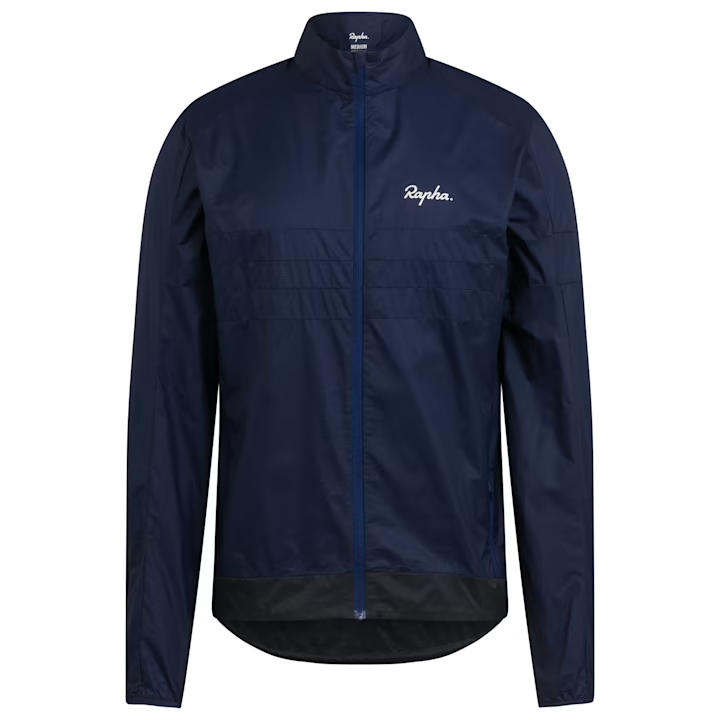
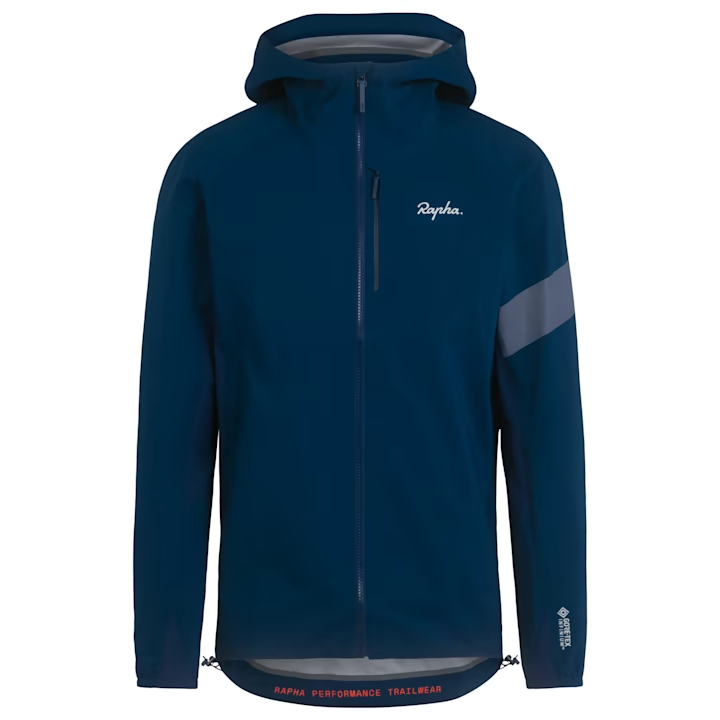
- 1x Shake dry rain jacket
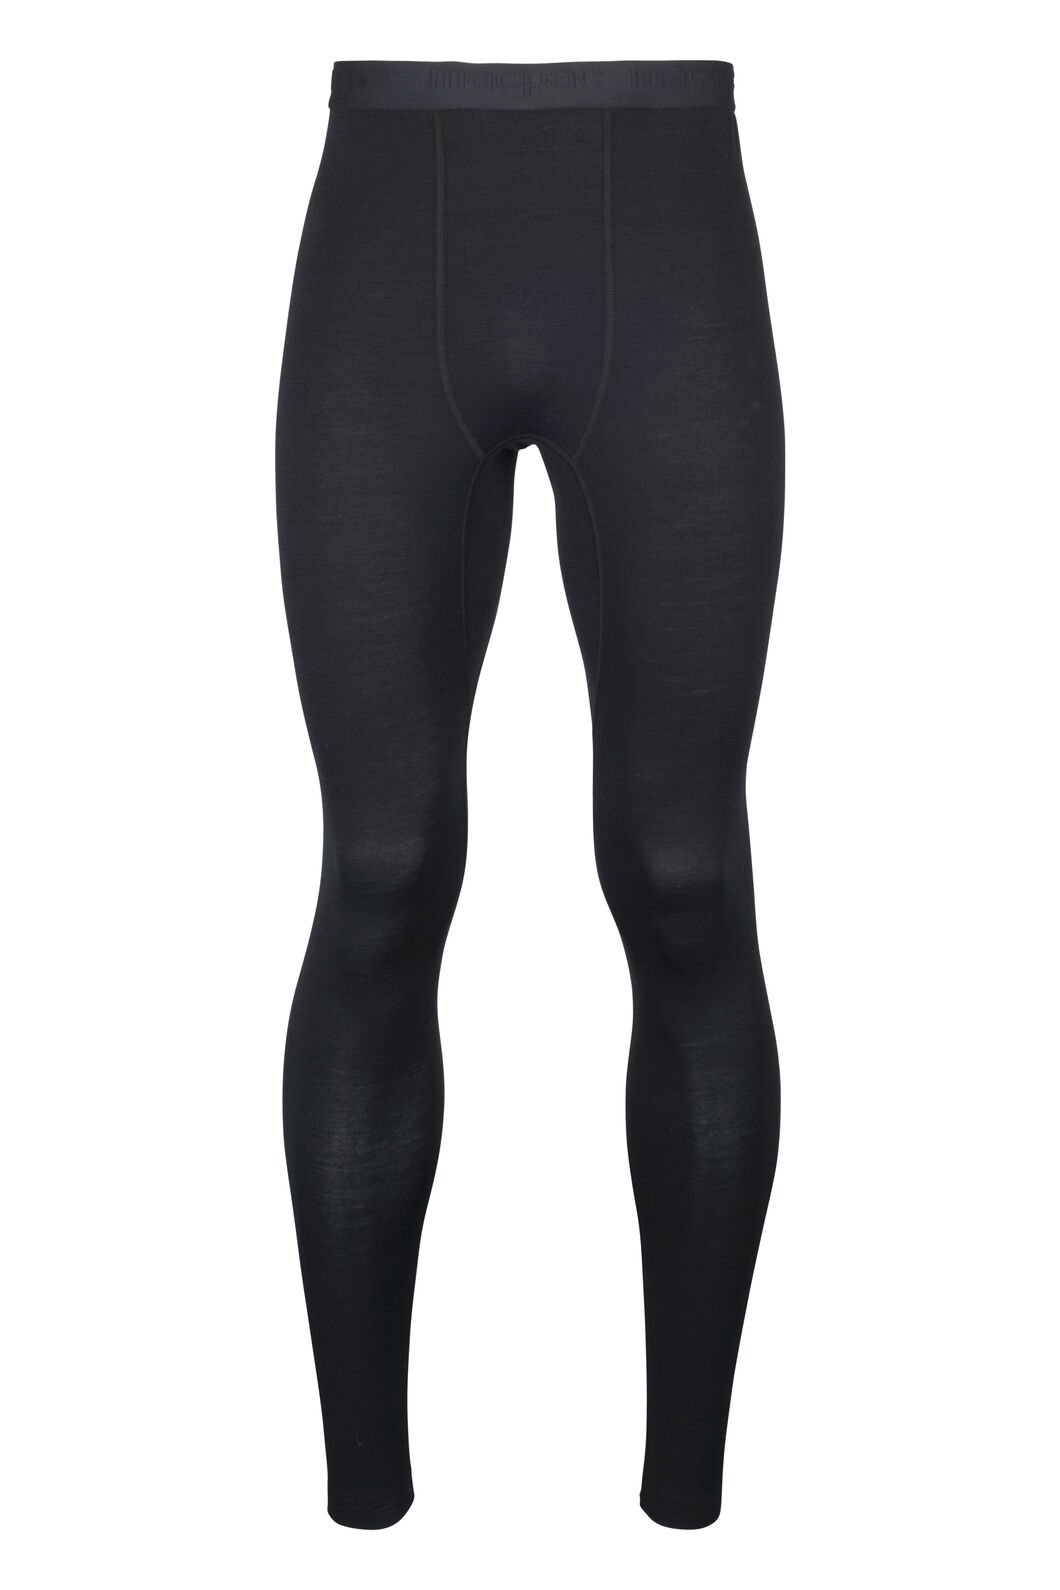
- 1x Merino full leggings *I use these instead of bib longs (they are fantastic off the bike too)
- 1x duck feather down jacket with a hood *light and warm (Macpac have good ones at fair prices)
- 1x pair of light shorts
- 1x extra pair of full length merino leggings
- 1x pair of light thongs or sandals
- 1x gravel t-shirt *can use on and off the bike
- Spare Merino undies (or hang free if that’s your thing).
*Non-pro tip – if I start to chafe, I like to alternate days with Merino undies under the bib shorts. Don’t know why, but it works!
It’s important that your clothing is of good quality and is made of wool or synthetics. They’ll keep you warm even when wet and also breathe better in the heat. Don’t bring anything cotton, when wet, it stays very cold.
When beginning bikepacking, always pack more and not less. Refine your packing as you learn from experience. What works for me, may not be the best option for you.
Some of my favourite gear (perfect for layering any season):

Essentials for remote regions
- Spot tracker or satellite communicator
I always think it’s a good idea to take one of these should you get yourself in a bit of a mess. I know that some phones have satellite features these days and some of these devices even operate through your phone but I can’t help but think that its better to have an alternative away from your phone should things really go tits up.
My suggestion would be the Garmin InReach mini at about $500 – $550. - Water filtration system and water purification tablets
Essential items to take with you, especially in remote areas, when things get hot, things get thirsty – quick.
My favourite filtration system is the Katadyn BeFree drink bottle which is lightweight and folds up into a neat little package so that it fits nicely in with your things.
I like to take spare purification tablets with me as a secondary double filter option just in case the water is low lying or a little bit closer to famland than I might like. (You can find these in hiking stores or Macpac). - A good set of working lights
Personally, I’ve got a k-lite setup which I absolutely love because it’s one less thing that I have to charge, plus I can charge my electronics as I ride through the bike. The front light is also super bright, like a spot light in the night.
* If you plan on riding at night, strong lights are essential, it is an absolute nightmare trying to navigate with poor light and you really don’t get a lot of charge out of one light on spotlight setting. So you might need a two front light setup.
Tools & bike maintenance
By no means a full list of what you should take but here are some of the essentials which will vary based on the seriousness of your adventure and the company that you plan on keeping:
- Portable bike pump (more reliable than co2)
*Make sure it’s not the twist onto your valve kind of bike pump and if it is, make sure that you have a valve tightener. Speaking from experience here. - Tyre plugs, patch kit and spare tubes (perhaps a sew kit & even some spare spokes if you have them).
*If you are running tubeless – plugs are a must. Even if you are tubeless, bring spare tubes should things go catastrophically wrong. If it’s a sidewall puncture, I’ve heard of people bring a sew kit to stitch up their tyre, I think for me though, thats probably the end of my ride.
* Apparently dental floss can be used in lieu of a sewing kit (you’ll still need a sewing pin). Hopefully I never get a chance to test that theory. - Multi-tool and perhaps a Swiss army knife type set up (all for obvious reasons)
- Spare derailleur batteries if you are running SRAM eTap or similar. Obviously all the chargers that go with your electronic setup should you be blessed with it.
- Electrical tape
*cause it fixes everything - A spare chain link
- Bike lube & perhaps some spare sealant if you are running tubeless
- Spare brake pads
*I’ve needed them on more than one occasion - Shifter batteries
*If one shifter goes and you don’t have a spare battery, you are riding a fixie. - Spare derailleur hanger
*Incase you ride into a wayward stick or have a tumble. - Tyre Levers
Check your cleats, check your brake pads and check your tyre sealant (if tubeless).
Another common problem I’ve encountered with other riders (if your bikes happens to be well used) is the freehub bearing failing mid-ride so perhaps just give your bike a good going over with a mechanic before you take it out.
Miscellaneous Items Checklist
Not that you need this but should you want a small item checklist as a check measure against what you’ve got:
- Front and back light plus charging cable
- Phone charging cable
- Bike computer plus charging cable
- Powerbank with charging cable
- Toiletries (perhaps some toilet paper)
- Small first aid kit, space blanket and snake bandage kit
- Bike shoes, helmet and sunglasses
- Any medication that you may need and some Panadol (just in case)
- The will to live
- Your wallet and carry some cash for the backwater general stores, also handy for patching a hole in your tyre
- Both front and rear tyres
Camping Kit
There is so much range out there when it comes to camping kit, that you will no doubt find better value things than what I have listed below. If you can’t be bothered, these items work and they are probably as light and compact as you will find.
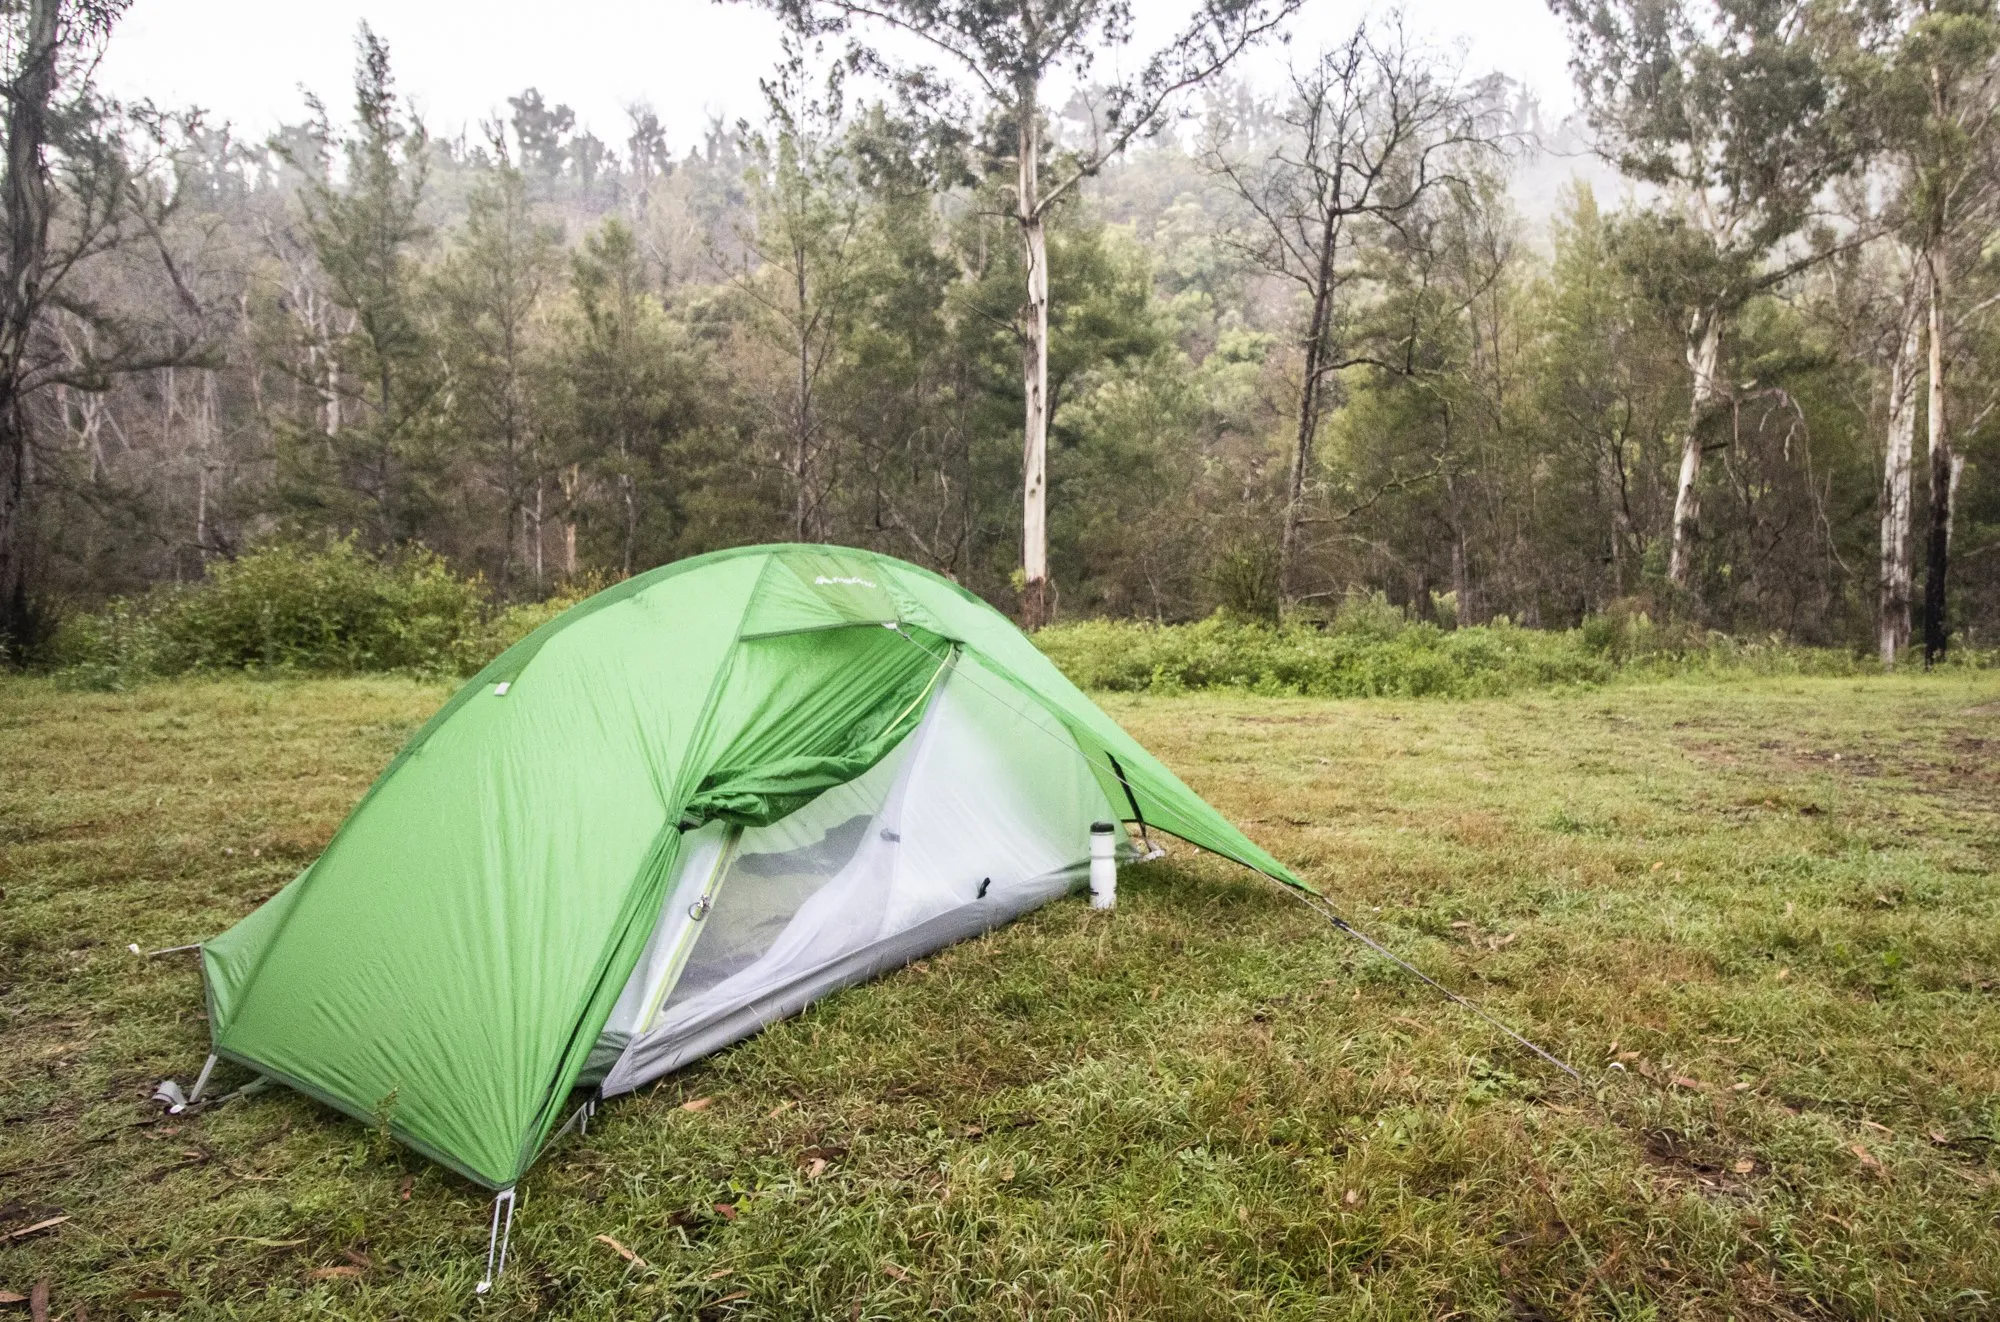
Tent or Bivvie – You’ll want it to be small and compact. Unfortunately, the smaller and more compact, likely the more expensive.
I used to roll with a small one-man tent that was Macpac brand (which I enjoyed and was quite light) slightly less compact than I would like however. So I purchased a Bivvie, which is more compact, even lighter, easy to set up and consequently, expensive (but from memory less than the tent). Outdoor Research AscentShell Bivvy // Macpac Microlight Tent
Sleeping Bag – Again, light and compact is the aim here. Once again, thats expensive. You’re also going to want to get something rated to the temperature that you are travelling through. That’s very important for comfort and avoiding hypothermia. Sea to Summit Spark Sp
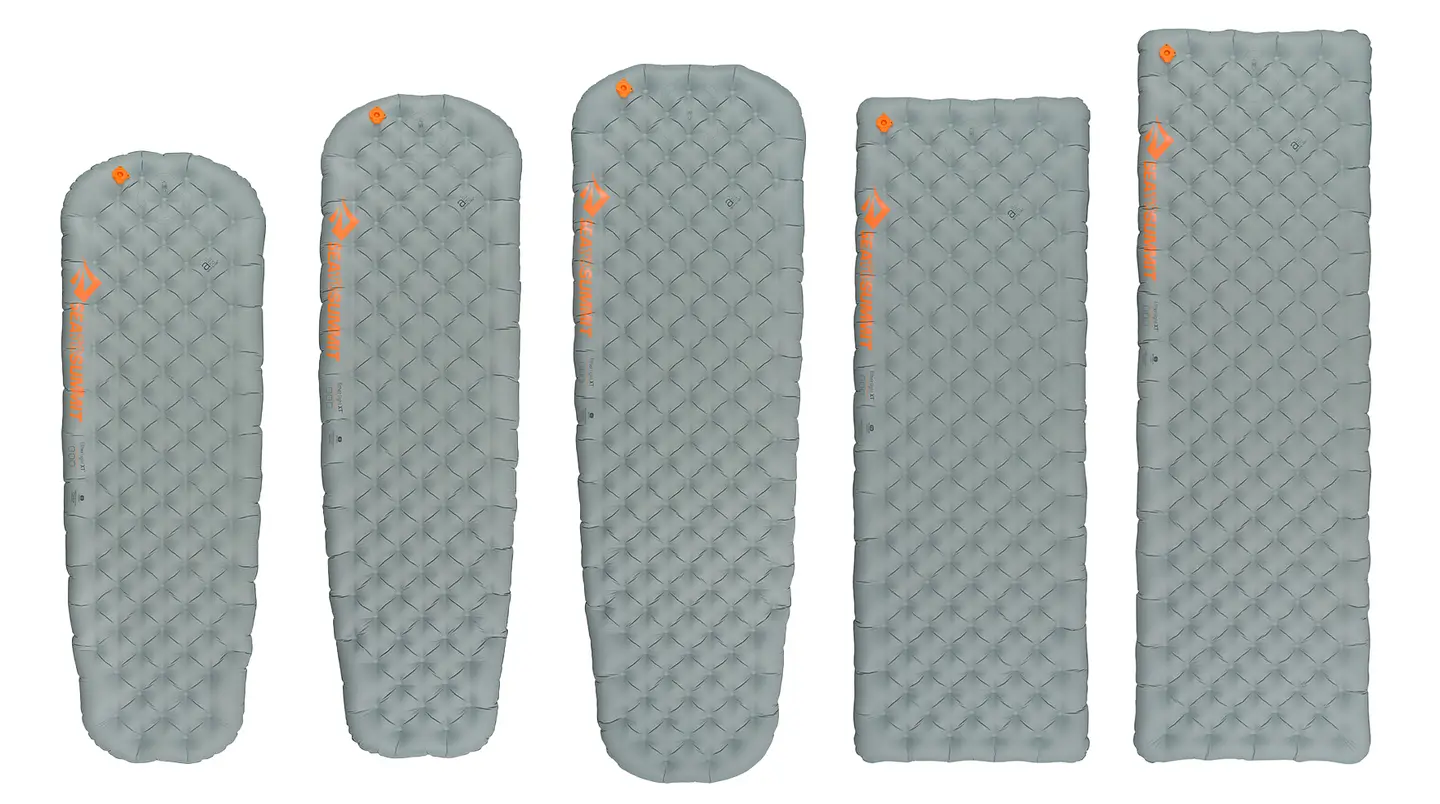
Foam mattress – You might be sensing a trend by this stage. Light, compact, expensive. Sea to Summit Etherlight XT
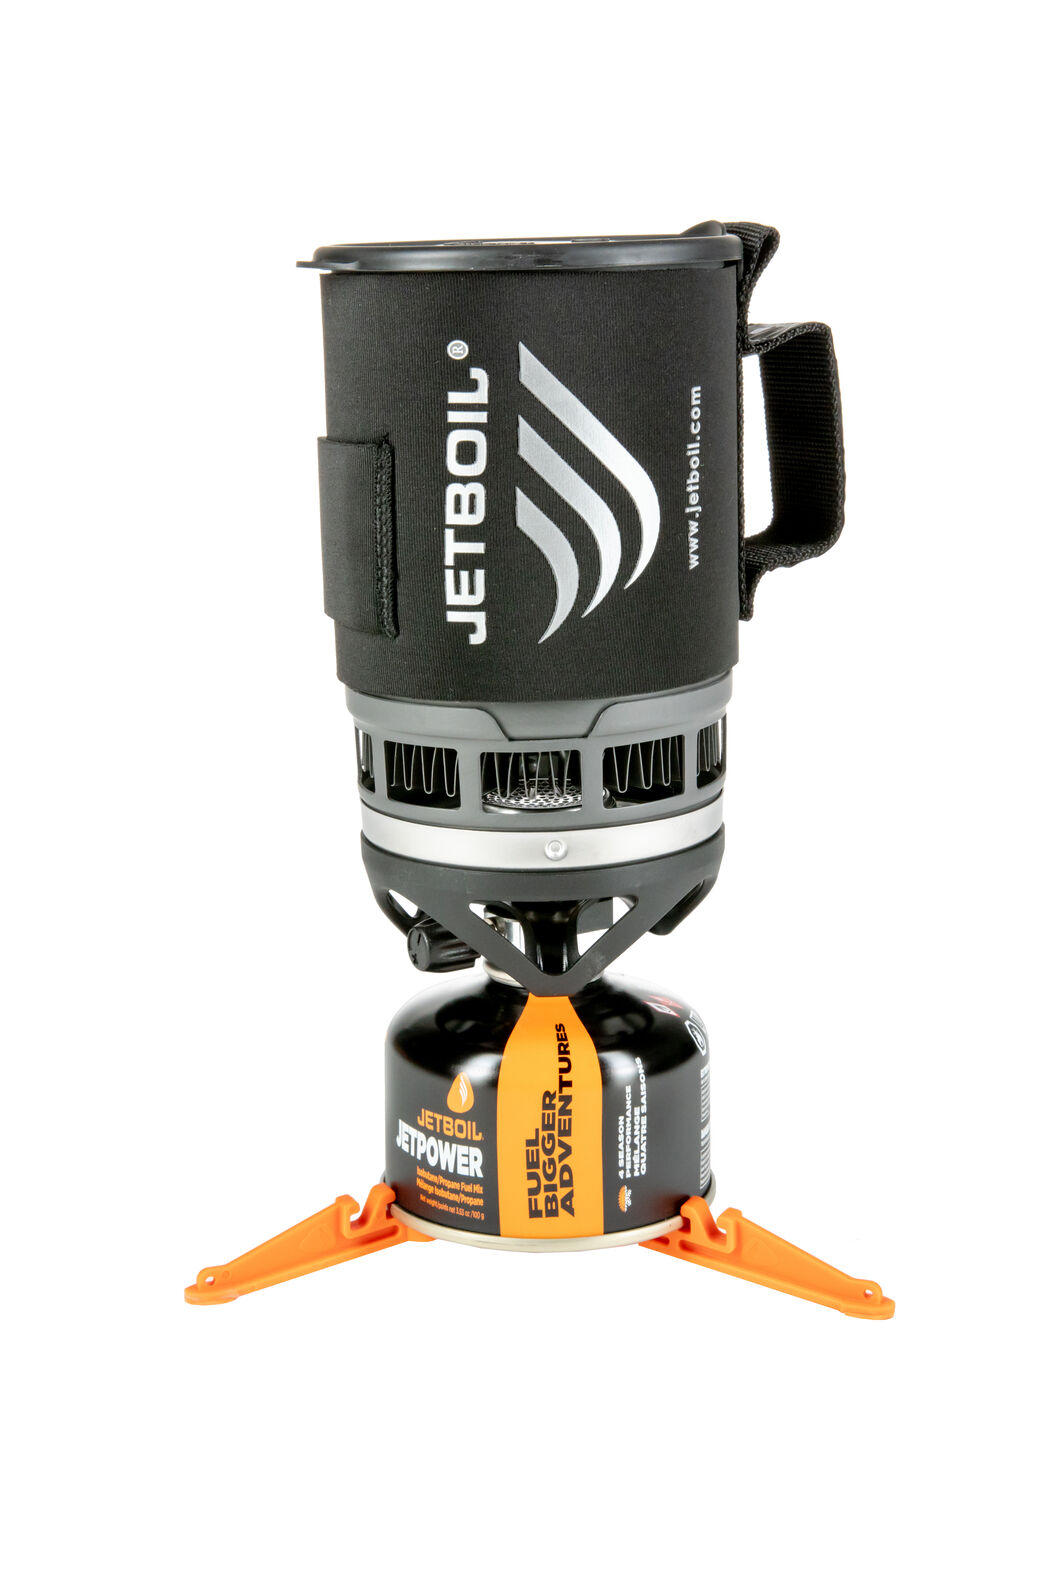
Jet Boil Portable gas stove – Great piece of kit if you intend on bringing some freeze dried meals with you and also a great way to make a coffee in the morning. I used to bring it with me but now I can’t be bothered lugging it around. *Also remember that you can’t take the gas canisters on planes. Jet Boil


Nutrition
Very tricky to get right is nutrition as there are some many variables with the main one being, are you able to carry it? After all, water is heavy but severe dehydration is likely to slow you down also.
Good planning and knowing what works for you is the key here. Knowing what towns you will pass through, what time you will pass through them and knowing what will be open.
Keep a particular eye out for school holidays, public holidays and the Monday after a public holiday (if it’s over a weekend) as lots of small town general stores close over these periods and the only notice you will get will be the letter on the front door when you arrive.
I used to bring freeze dried meals but I’m a little bit over them. Now I just enjoy foraging through whatever shop I can find and trying to stay two or three meals ahead in storage. A solid supply of energy bars and gels are light and a good choice if you are stretched between meals and need the nutrition so I generally carry about 2 handfuls of those.
In terms of water, 2x 1L bottles is generally enough for most trips but there have been times where I’ve been very thirty in-between places to fill up. Keeping your water filter bottle fill on the long stops is probably not a bad idea as well as throwing a Powerade or two in the saddlebag for good measure.